
New musicians and content creators pop up every day across the world, and more and more of them have become concerned with the quality of their audio recordings. This leads many to ask themselves whether they should record in a professional studio or if a home studio will do.
If possible, you should record in a studio. A professional studio has been designed to provide the best environment for professional audio recording. However, it is possible to record at home if certain modifications are made to your recording space to make it more suitable.
In this article, we’ll discuss why it is recommended that you record in a professional studio. We shall also look at steps you can take to make any space in your home suitable as a home recording studio.
Table of Contents
- Why Should You Record in Professional Studios?
- How To Make a Home Studio Suitable as a Professional Recording Studio
- Final Thoughts on Recording in Your Own Home Studio
Why Should You Record in Professional Studios?
You should record in a professional studio because it is a controlled space designed to prevent unwanted sound from getting into your recording. It is also acoustically treated to cut down on reflections, flutter echoes, and standing waves to deliver a clear audio recording.
In addition to the acoustically treated space, professional-grade recording equipment contributes to the quality of the recording. Some of this equipment includes the following:
Should I Record at Home or in a Studio?
If you’re just starting your music-making journey, you probably don’t have high-end recording gear and might want to pay for pro studio time. Even if you’re a pro, chances are your gear isn’t as good as what you’ll find in a professional studio.
However, you can still create high-quality recordings at home if you invest in the right gear and treat your space so that it resembles a professional studio.
How To Make a Home Studio Suitable as a Professional Recording Studio
It’s now easier than ever to set up a professional recording environment anywhere. This explains why there has been a rise in the number of home studios worldwide.
Rather than going to a studio whenever you need to record, you can create a personal home studio in your own space. Thankfully, you can do this without breaking the bank.
Below, we will look at the steps you can take to create your own home studio.
1. Get the Right Equipment
The first step in enabling your home studio to record professional-level audio is investing in the right equipment. Some of the essential gear you’ll need to include:
A Computer
If you’re making any type of music, you need a computer. It will act as the digital space where all your recordings will take place. You’ll use it to run Digital Audio Workstations (DAW), which is where you’ll handle and edit your recordings. If possible, use a computer with enough processing power to comfortably handle several tracks at the same time.
Audio Interface
This is the heart of your own home studio and will determine the type and quality of recording that you can do. Some of the features you should look out for are:
- The number of channels. This will determine how many simultaneous recordings you can carry out at any time.
- Resolution. The minimum resolution you should go for is 16-bit / 48 kHz. Most interfaces will offer you at least 24-bit / 96 kHz. The higher the resolution, the larger your recorded file sizes and the better their quality will be.
- Phantom Power. It is important to get an interface with this feature if you intend to use a condenser microphone.
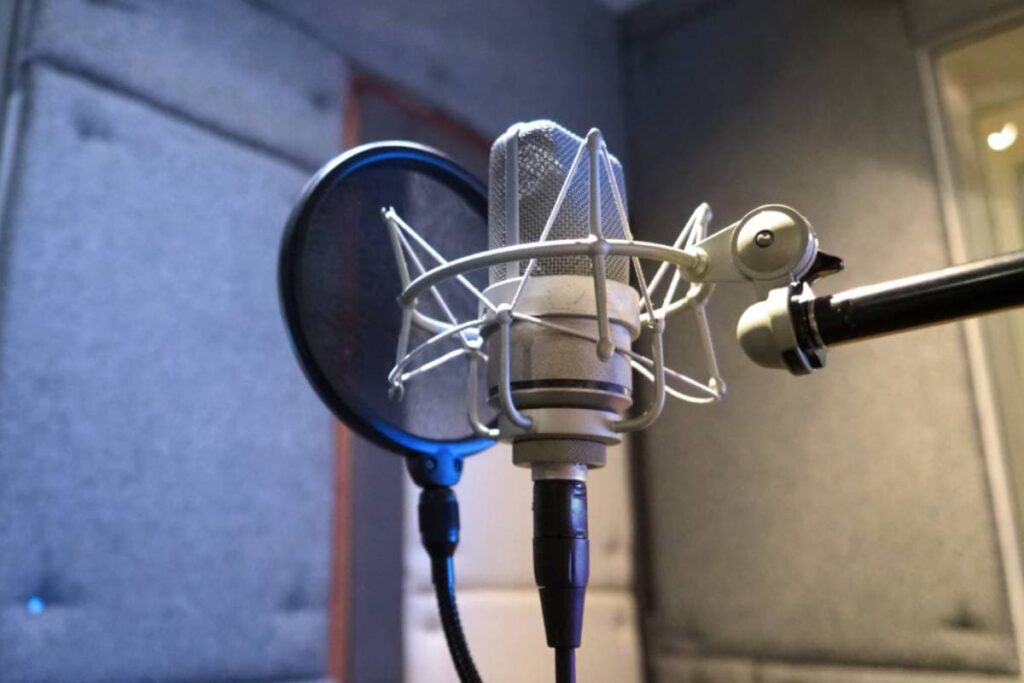
Microphone
Needless to say, you can’t record any sound without a microphone. Your microphone will capture an analog signal, which will go through your interface to be converted into a digital signal that can be used by your DAW.
For simple audio recordings, you can choose between a dynamic and a condenser microphone. A condenser microphone is more sensitive, which means it will give you better clarity but will also be easily affected by external noise.
Headphones/Studio Monitors
Next, you need a way of hearing what you’re recording. If you want to be able to hear other audio tracks while you sing or play an instrument, you will need a pair of headphones.
When it comes to post-production tasks such as editing, mixing, and mastering, it’s better to use studio monitors. If you can’t get studio monitors, you can use studio headphones for your post-production tasks, but studio monitors will give you a more precise feel of how your mix sounds like.
Digital Work Station (DAW)
A Digital Work Station is a virtual studio on your computer. This is where you will record, edit, mix and master your recordings. You can choose from several different options, and there isn’t a right or wrong answer. You’ll find defenders and detractors for almost any DAW. Here are some of the most popular ones:
- Ableton Live
- FL Studio
- Pro Tools
- Logic
- Reason
- Cubase
Accessories
Here are some extra essential accessories:
- A microphone stand/shock mount. This will hold the microphone while you’re busy singing or playing.
- Microphone cable. A professional microphone cable is vital for noise-free transmission of audio signals.
- Pop filter. This will cut off the plosives and breath noise from your vocal recordings.
2. Prepare Your Own Studio Recording Space
Now that you’ve got your equipment, the next thing step is to prepare the space where you will be recording. Two critical acoustic issues require your attention:
- Home Studio Isolation. This means preventing sound from entering and leaving a space. You need to prevent unwanted sounds from getting into your recordings, and you probably want to avoid disturbing others.
- Home Studio Treatment. This deals with the placement of panels, bass traps, and other acoustic treatment products at strategic points to reduce early reflections, flutter echoes, and standing waves. This will greatly improve the quality of your recordings.
While acoustic isolation can be cost-intensive and even require major construction in some cases, acoustic treatment can be achieved with less effort.
Here’s a simple home studio guide that you can work with if you don’t want to go through too much preparation:
- Get a microphone sound shield. It should be placed behind the microphone, facing the singer/speaker.
- Place an absorbent material where you will stand while recording. A rug will work fine.
- Place another absorbent material behind you. Ideally, you should also place it to your sides and above you.
3. Start Recording in Your Home Studio
With all of the above done, it’s time to begin to record.
There are some lessons you can only learn when you start recording. Hopefully, you will learn from your initial mistakes and improve with more pro studio time.
You may eventually decide that you need more sophisticated equipment and maybe even a professionally constructed space for your home studio.
Final Thoughts on Recording in Your Own Home Studio
Recording all your audio in a professional recording studio will definitely give you better results.
However, it’s perfectly possible to set up your own home studio in your own room that will achieve professional-level recording.
Not everyone has the chance to record in a studio. Luckily, a home recording studio today is more common and easier to make than ever.

- Review of the ALABS IRON MINI-WL: A Powerhouse Wireless Microphone - October 4, 2023
- What is a Saturator in Music Production: A Brief Explanation - May 11, 2023
- What Are Rotary DJ Mixers? An Overview - May 11, 2023
SoundStudiomagic.com is a participant in the Amazon Services LLC Associates Program, an affiliate advertising program designed to provide a means for sites to earn advertising fees by advertising and linking to Amazon.com. We also participate in other affiliate programs which compensate us for referring traffic.