
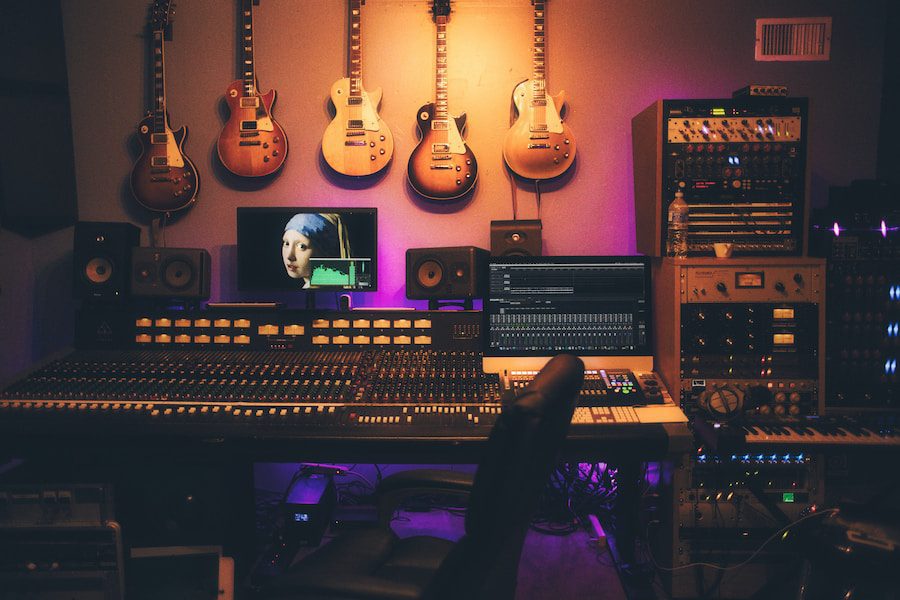
In the ever-evolving world of music production, audio effects play a crucial role in shaping the sound and character of a track. Among these myriad effects, one stands out for its unique ability to add grit, warmth, and digital distortion – the bitcrusher. This powerful tool has become essential in modern music production across various genres.
The bitcrusher effect, a popular audio processing technique, is primarily used to create distortion and reduce the overall quality of digital audio signals. This unique effect is achieved by reducing two key elements of an audio signal: the bit depth and sample rate.
By intentionally degrading these components, musicians and producers can introduce a range of interesting sonic textures that evoke nostalgia for early digital technology or add character to their music.
Table of Contents
- Understanding Bitcrusher Effects: A Comprehensive Guide
- The Role of Bitcrushers in Modern Music Production
- Tips for Utilizing Bitcrusher Effects Creatively
- How to Choose the Right Bitcrusher Plugin for Your Project

As we delve into this comprehensive guide on understanding bitcrusher effects, we will explore their role in today’s music landscape and how they have transformed sonic textures. Furthermore, we’ll provide tips on creatively utilizing these captivating effects to elevate your productions while also discussing choosing the perfect bitcrusher plugin tailored to your project’s needs.
So gear up as we embark on this fascinating journey through digital distortion and discover what makes bitcrushers such an indispensable part of contemporary music-making!
To understand how the bitcrusher effect works, it’s essential first to grasp the concepts of bit depth and sample rate in digital audio.
Bit depth refers to the number of bits used to represent each sample in an audio file; essentially, it determines how accurately a sound wave can be represented digitally.
A higher bit depth allows for greater dynamic range – meaning more variation between loudness levels – while lower depths result in quantization noise as finer details are lost during conversion from analog to digital format.
Sample rate represents how many samples per second are taken when converting continuous analog sound waves into discrete digital data points; higher rates provide better frequency response (the ability to reproduce high frequencies) but also require more storage space.
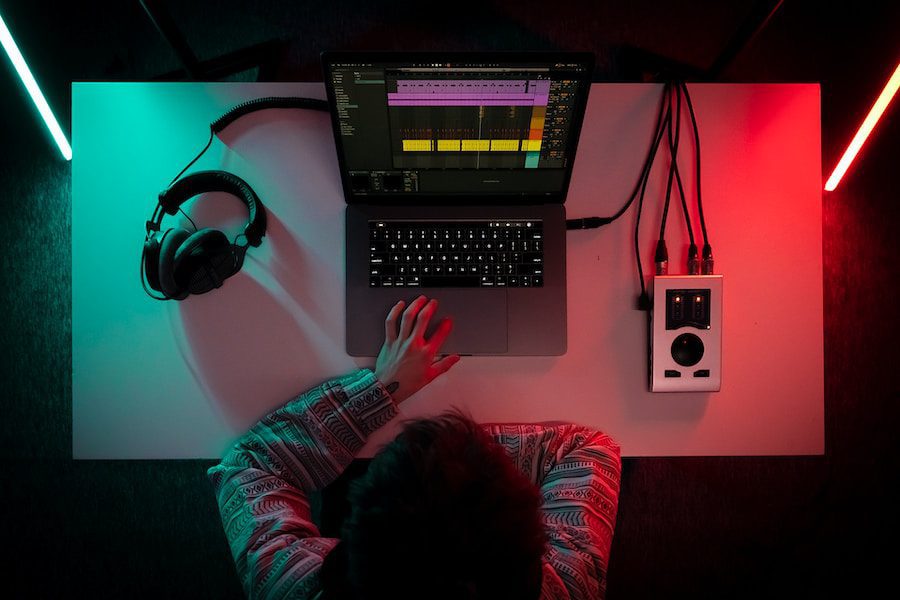
When applying a bitcrusher effect on an existing piece of music or recording new sounds with this filter enabled, users have control over both parameters mentioned above: they may choose just how much degradation occurs by adjusting settings accordingly within their chosen software or hardware device offering this functionality (such as DAWs like Ableton Live).
Reducing either parameter will lead directly towards noticeable changes within affected tracks – lowering bitrate creates audible artifacts known collectively as “bit crush,” which manifest themselves through crackling noises akin to those heard when listening to old video game consoles playback chiptune compositions.
Decreasing sampling frequency results similar yet distinct phenomenon called “downsampling,” where entire portions of high-frequency content become lost entirely due to the rapid reduction of available bandwidth required to capture them during the playback process properly.
The appeal behind using such effects lies in their ability to add unique character and texture and in the creative possibilities they present for sound design.
The appeal behind using such effects lies in their ability to add unique character and texture and in the creative possibilities they present for sound design.
By experimenting with different settings, musicians can achieve various results – from subtle warmth reminiscent of vintage hardware samplers to extreme digital destruction pushing boundaries of what might traditionally be “musical.”
Additionally, bitcrushing has found its way into various genres over the years; electronic music producers often employ technology to add grittiness basslines or drum loops, while indie rock artists may use it to create lo-fi aesthetic evocative early home recording setups.
Ultimately, though some listeners find these artifacts off-putting due to inherent loss of fidelity (particularly when used excessively), others embrace them wholeheartedly as an ongoing quest to explore new sonic territories that push the limits of conventional audio production techniques further than ever before.
Understanding Bitcrusher Effects: A Comprehensive Guide

Bitcrusher effects are audio processing used to create distortion and add texture to the sound. It reduces an audio signal’s bit depth and sample rate, resulting in a crunchy, distorted sound.
This effect is often used in electronic music production as it can give tracks an edgy, gritty feel. Understanding how this effect works can help producers achieve their desired sonic results.
To understand bitcrusher effects, it’s important first to know what bit depth and sample rate are. Bit depth refers to the number of bits per sample that make up an audio file; higher numbers mean more data points for each waveform cycle, leading to better quality sound and larger file sizes.
The sample rate is the frequency at which samples are taken from a digital signal; higher rates result in smoother sounds with less aliasing (distortion).
When using a bitcrusher effect on your track, you can reduce both these values simultaneously or individually depending on your desired outcome – lowering either one will cause distortion, while lowering both together will produce even more extreme results such as heavy lo-fi sounds or robotic textures.
The reduction you apply depends on how much grit you want your track to have, so experiment with different settings until you find something that fits well within your mix!
It’s important not to overuse this type of processing as too much distortion can quickly lead to unpleasant-sounding noise rather than interesting texture – use sparingly when needed!
The Role of Bitcrushers in Modern Music Production
Bitcrushers are an important part of modern music production. They are an audio effect that reduces the bit depth and sample rate of digital audio signals, resulting in a distorted sound with reduced dynamic range.
This can be used to create interesting textures and sounds that would otherwise not be possible with traditional production techniques.
The most common use for bitcrushers is in creating lo-fi or vintage-sounding effects, as they can add warmth and character to recordings by reducing their clarity.
Bitcrushers also have applications in more experimental genres, such as ambient or glitch music, where they can help create unique sonic landscapes by distorting the signal beyond recognition.
In addition to being used creatively, bitcrushers can also serve practical purposes, such as increasing the loudness of a track without introducing unwanted distortion or artifacts into the mix due to its reduction in dynamic range.
This makes them useful tools for mastering engineers who need precise control over how much compression is applied during mixing stages without sacrificing quality or clarity from other elements within the track.
Overall, bitcrusher effects provide producers with another tool for adding texture and character to their productions while maintaining control over dynamics and loudness levels throughout each stage of the production process – making them essential components for any modern recording studio setup!
Tips for Utilizing Bitcrusher Effects Creatively
Bitcrusher effects are a great way to add texture and character to your music. They can be used creatively, from adding subtle warmth to creating a distorted soundscape. Here are some tips for utilizing bitcrusher effects creatively:
- Start by experimenting with the rate and depth settings of the bitcrusher effect. Lowering the rate will create more distortion, while increasing it will give you a smoother sound. Adjusting the depth setting will affect how much of an effect is applied, so experiment until you find something that works for your track or instrumentation.
- Try using multiple bitcrushers on different parts of your mix – this can help create interesting textures and tones throughout your song without sounding too overbearing or muddy-sounding. You could also use one instance as an insert on individual tracks (like drums) instead of applying it globally across all instruments to get more control over each part’s tone separately from others in the mix.
- Use automation techniques when working with bit crusher effects – this allows you to adjust parameters like rate and depth at specific points during playback, which gives greater control over how they interact with other elements within a track, such as vocals or synths. Automating these parameters also makes achieving dynamic changes between sections easier, which would be difficult if done manually.
- Finally, don’t forget sidechain compression when using bit crusher effects! This technique helps keep everything sounding tight while still allowing room for movement within certain frequencies – perfect if you want those crunchy sounds but don’t want them overpowering other elements in your mix!
How to Choose the Right Bitcrusher Plugin for Your Project

Choosing the right bitcrusher plugin for your project can be a confusing task. Many plugins are available, each with unique features and capabilities.
To ensure you get the most out of your bitcrusher effect, it is important to understand what type of sound you want to achieve and find a plugin that offers those specific features.
The first step in choosing the right bitcrusher plugin is determining the type of sound you want. Bit crushers can produce anything from subtle distortion effects to extreme lo-fi sounds, depending on how they are used.
Consider whether you need an analog or digital emulation and whether stereo processing is necessary for your project before deciding which plugin to use.
Once you have determined which type of sound best suits your needs, it’s time to look at the various parameters offered by each plug-in, such as sample rate reduction, filter frequency range, and modulation options like LFOs (low-frequency oscillators).
These will all affect how much control over tone shaping and manipulation that particular plug-in provides, so experiment with them until you find something that works best for your project’s needs.
Finally, consider any additional features such as MIDI mapping capabilities or built-in presets when selecting a bitcrusher effect plug-in – these could come in handy if there isn’t enough time during production sessions to tweak settings manually every single time.
Ultimately, finding the perfect fit comes down to personal preference, so don’t be afraid to try out multiple plugins until one feels just right!

- Review of the ALABS IRON MINI-WL: A Powerhouse Wireless Microphone - October 4, 2023
- What is a Saturator in Music Production: A Brief Explanation - May 11, 2023
- What Are Rotary DJ Mixers? An Overview - May 11, 2023
SoundStudiomagic.com is a participant in the Amazon Services LLC Associates Program, an affiliate advertising program designed to provide a means for sites to earn advertising fees by advertising and linking to Amazon.com. We also participate in other affiliate programs which compensate us for referring traffic.