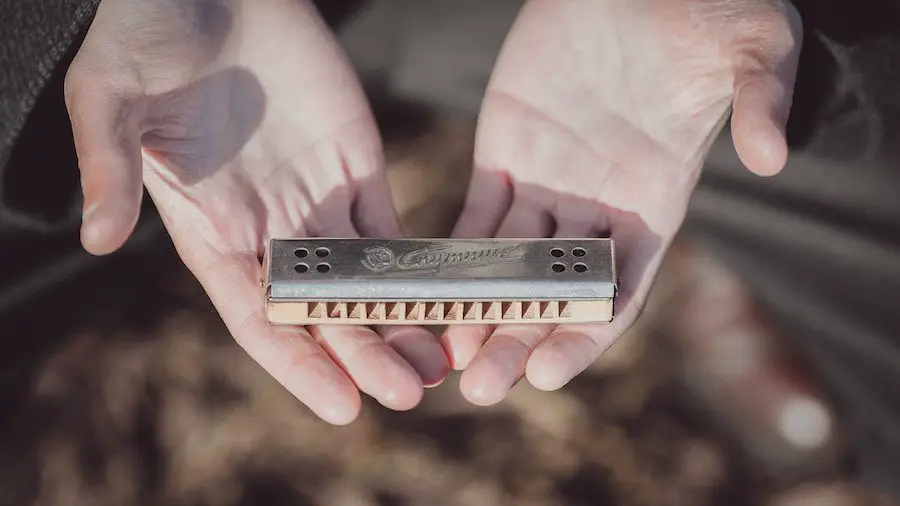
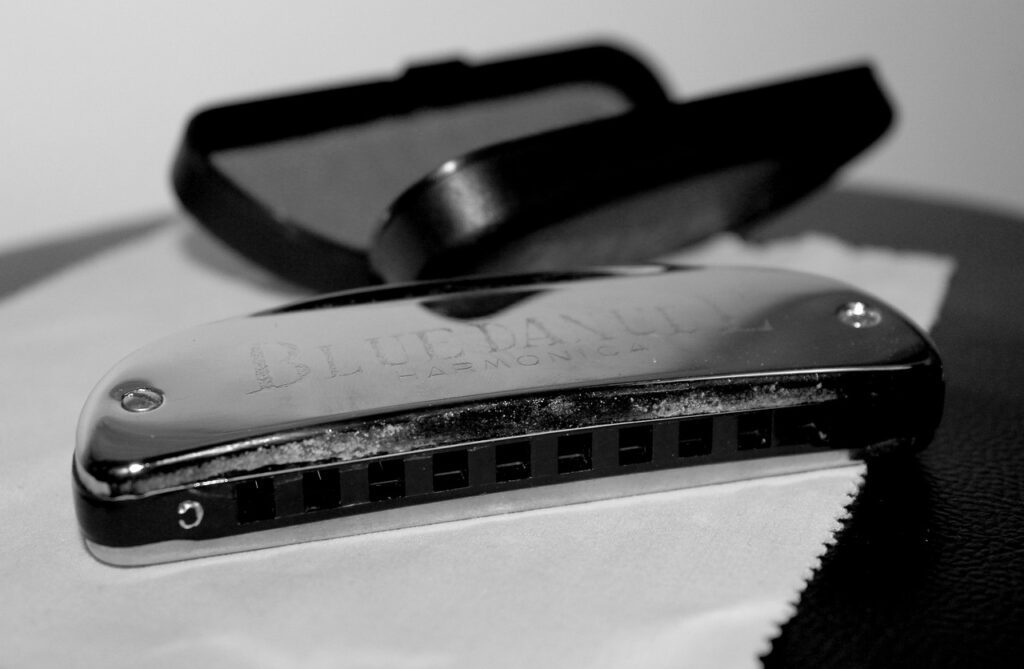
Replacing a reed on a harmonica is a task many harmonica players will eventually need to learn. The reed is a vital part of the instrument, as it vibrates when air flows over it to produce sound. Over time, reeds can become damaged or wear out, affecting the sound quality. Knowing how to replace a reed can save time and money and keep your harmonica sounding its best.
Before starting the replacement process, gathering the necessary tools and materials, such as replacement reeds, a small screwdriver, pliers, and a harmonica-friendly adhesive, is essential. Familiarizing oneself with the harmonica’s anatomy will help one understand how to remove and replace a reed without damaging the instrument further. Patience and precision are crucial when working with small, delicate parts.
There are three key steps to replacing a reed on a harmonica: removing the old reed, preparing the new reed, and attaching the new reed. This article will cover these steps in detail, along with some helpful tips and tricks to make the process smoother. Following these instructions, even inexperienced players can successfully replace a reed and restore their harmonica’s sound quality.
Table of Contents

Tools and Materials
Required Tools
Replacing a reed on a harmonica requires a few essential tools. The process is straightforward, and having the right tools makes it even easier. The tools needed are:
- Small flat-head screwdriver
- Small needle-nose pliers
- Tweezers
- Small file or sandpaper
Selecting a Replacement Reed
When choosing a replacement reed for your harmonica, there are a few things to keep in mind. The most crucial aspect is the material used for the reed. Harmonica reeds come in two main types:
| Material | Description |
|---|---|
| Brass | Brass reeds are the most common and offer a good balance between durability and sound quality. |
| Stainless Steel | Stainless steel reeds last longer than brass reeds but might produce a slightly different tone. |
Additionally, it’s essential to select the correct size and thickness of the reed to match your harmonica’s original specifications. To ensure a proper fit, look for information on the harmonica’s manufacturer and model.
Removing the Old Reed
This section will discuss removing the old reed from a harmonica. This involves disassembling the harmonica, locating the damaged reed, and extracting it.
Disassembling the Harmonica
Before attempting to remove the old reed, the harmonica must be disassembled. Follow these steps:
- Place the harmonica on a clean, soft surface to avoid scratching it.
- Use a small screwdriver to remove the screws holding the cover plates in place.
- Once the screws are removed, carefully lift off the cover plates and set them aside.
- Remove the reed plates by unscrewing them from the comb. Keep track of the screws and their locations, as they may be different sizes.
Locating the Damaged Reed
With the harmonica disassembled, it’s time to locate the damaged reed. To do this:
- Examine the reed plates for signs of visible damage, such as cracks or bending.
- Identify the specific reed causing the issue by playing each hole individually and listening for poor or no sound.
- Once the damaged reed has been identified, take note of its location on the reed plate.
Extracting the Old Reed
Now that the damaged reed has been located follow these steps to extract it:
- Using a small, flat-head screwdriver, gently lift the damaged reed away from the reed plate.
- Once the reed is lifted, carefully cut it away from the plate using sharp, precise scissors or a small pair of wire cutters.
- Be sure to remove all remnants of the old reed, including any small pieces remaining on the reed plate.
After extracting the old reed, the harmonica is ready to install a new one. Follow the subsequent sections for guidance on installing and tuning the new reed.
Installing the New Reed

Aligning the Replacement Reed
Begin by carefully removing the new reed from its packaging. Place the harmonica on a flat surface with the reed plate facing up. Position the replacement reed on the reed plate, aligning it with the slot where the old reed was removed. Ensure that the reed tip faces the cover plate and its edges parallel the slot edges.
Securing the New Reed
Once the reed is properly aligned, secure it using the appropriate method depending on the harmonica’s construction. For models with screws, insert a screw through the reed plate and the rivet hole. Tighten the screw gently, making sure not to overtighten it, as this can damage the reed.
For harmonicas with rivets, use a specialized rivet tool or a small hammer to tap the rivet into the reed’s rivet hole until it is firmly secured. Be cautious to avoid damaging the reed or reed plate during the process.
Testing the Reed’s Tones
Once the new reed is secured, it is time to test its sound by playing a scale on the harmonica. Start by playing each hole separately, ensuring the reed responds correctly to both blow and draw notes. Pay close attention to the replaced reed’s tones, ensuring it is in tune with the other reeds and produces a clear sound.
If the replaced reed is not producing the desired tone, it may need tuning or slight adjustments. To do this, gently file the reed’s tip, making micro-adjustments to the position and tension until the desired sound is achieved.
Reassembling the Harmonica
In this final section, we will learn how to reassemble the harmonica after replacing the reed. Follow these steps carefully to ensure the harmonica is properly reassembled and functions correctly.
Putting the Covers Back
First, align the reed plate and comb, ensuring the reeds are in their corresponding slots. Hold the comb and reed plate tightly, and line up the screw holes. Carefully insert the screws and tighten them, but do not over-tighten, as this may cause damage to the harmonica.
After securing the reed plate and comb, it is time to reattach the cover plates. Place the top and bottom cover plates onto the harmonica, aligning the screw holes on the cover plates with the holes on the comb. Insert the screws and tighten them until they are snug.
Final Testing
With the harmonica reassembled, performing a final test to ensure proper functionality is crucial. Gently play each note on the harmonica, checking for consistent sound and volume. If any notes are unresponsive or sound weak, adjusting the reed gaps or alignment may be necessary.
Ensure the harmonica feels comfortable in your hands and that all parts are securely in place. This will ensure a pleasant playing experience.
- Review of the ALABS IRON MINI-WL: A Powerhouse Wireless Microphone - October 4, 2023
- What is a Saturator in Music Production: A Brief Explanation - May 11, 2023
- What Are Rotary DJ Mixers? An Overview - May 11, 2023
SoundStudiomagic.com is a participant in the Amazon Services LLC Associates Program, an affiliate advertising program designed to provide a means for sites to earn advertising fees by advertising and linking to Amazon.com. We also participate in other affiliate programs which compensate us for referring traffic.

