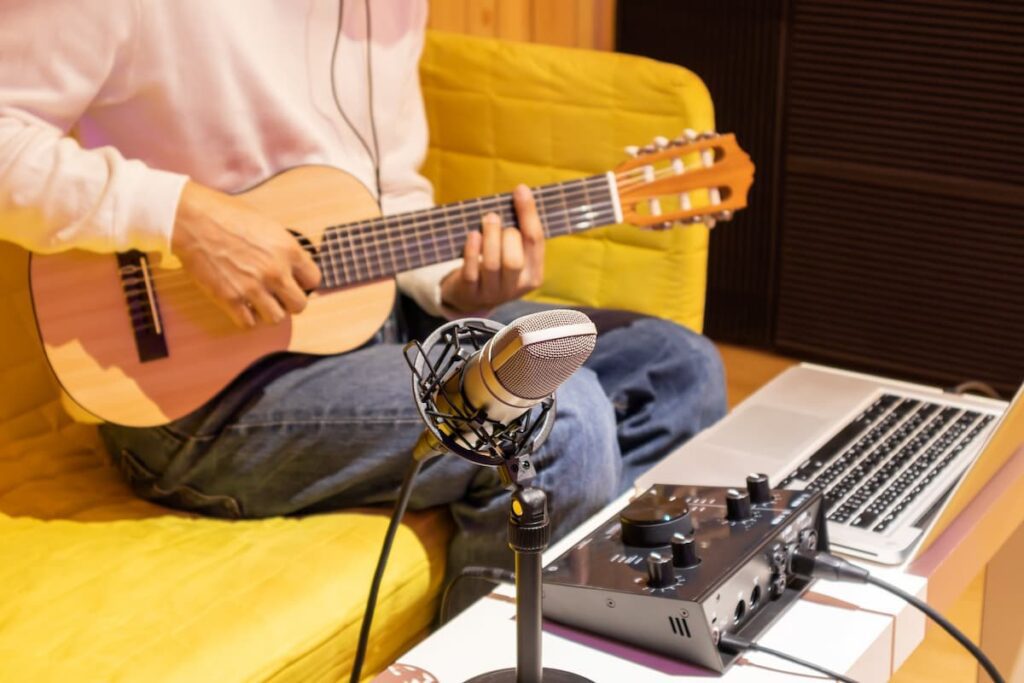
Inexpensive sound cards on your computer are great for getting you up and running fast with audio recording, but if you’re serious about professional audio, you will want to get something better sooner rather than later. Audio interfaces promise the world in audio, but their capabilities are somewhat limited by various issues that cripple their performance. One of these issues is the audio quality, as audio interfaces may not sound their best 100% of the time.
You can make your audio interface sound better by checking its condition, tightening any loose connections, using better quality cables and microphones, adding EQ, and gain staging. If you’re using a DAW and interface for recording, update your drivers. This should flush out any bugs in the system.
This post will explore how to make an audio interface sound better by avoiding the pitfalls many home studios fall into when using them.
Table of Contents
- 1. Check the Condition of Your Audio Interface
- 2. Tighten Any Loose Connections
- 3. Gain Staging: Record at the Right Level
- 4. Use a Noise Filter
- 5. Update Your Audio Drivers
- Final Thoughts

1. Check the Condition of Your Audio Interface
Let’s start by admitting that pro audio interfaces can record professional-quality sound, but that doesn’t mean the sound coming through your speakers will be perfect. In fact, even the best audio interfaces can sound pretty bad when you first start recording.
That’s because how you use your interface, its condition, and every detail down to the connected devices significantly impact how it sounds.
For example, if you’re recording through cheap computer speakers, your recordings will likely sound harsh and unbalanced. And if you crank up your volume, voila! They’ll sound even worse.
If you’re battling with static and component noise, buzzing, and bad-quality audio in general, here are a few places to start your search:
- Cables. The quality of the audio cable is essential when getting your audio system set up at home. It doesn’t matter if you use an elegant pre-amplifier or a repulsive boombox. If the audio cable is low-quality or has weak shielding, its performance will be significantly downgraded, possibly leading to audible noise interference.
- Input and output ports. High performance goes hand in hand with data transmission. In most cases, your audio interface will transmit data through a wired connection, and there must be no damage to the input and output ports. That’s because even the slightest damage can lead to degradation in performance and result in losses.
- Control knobs (volume, gain, and switches). Various controls adjust the volume of the microphone input, add reverb to an audio track, or control the frequency response of an equalizer. If these controls are damaged, getting a good-quality signal is difficult.
Your audio interface should be in top shape to perform its duties well. Taking some time to maintain your audio interface will help you avoid unpleasant and expensive surprises down the road.
2. Tighten Any Loose Connections
Pro audio interfaces are built to withstand heavy use, but from time to time, you’ll want to check the connections to make sure everything is still in good shape. This is particularly true for those with XLR inputs, which are designed for professional use but can still develop loose connections over time.
Loose connections will cause unwanted noise and degradation in sound quality, so tightening them up every now and then is important. To tighten XLR connections, start by ensuring they’re fully inserted into the interface.
If they’re not, you may want to use a screwdriver to push them in gently. You can also use pliers if you want to be extra careful. Be sure not to force anything since this can cause them to break.
3. Gain Staging: Record at the Right Level
Gain staging puts the level of your audio source at an optimal level for the audio interface. This means you want your signal to hit the interface at the right level, neither too soft nor too loud. If your signal is too soft, it may cause significant imbalances in your signal-to-noise ratio.
If it’s too loud, you could overload your interface and create unwanted noise. Gain staging is important when you’re recording instruments. If the player is too close to the mic, the sound could be too loud and cause distortion.
On the other hand, the sound won’t be picked up very well if the player is too far from the mic.
4. Use a Noise Filter
Most audio interfaces have built-in noise filtering, but they don’t work perfectly all the time. There are various types of background noise you might encounter while recording, including:
- computer fans
- traffic
- HVAC noises, etc.
You can deal with most of these with the right equipment, but the computer fans can be trickier to silence.
If you’re recording at home and your computer fans are too loud, use a fan controller to turn the rotations (and the noise) down, but that may not have a significant impact on your sound quality. A better option would be a noise filter.
If you have a noise filter, you can usually select the type of noise you want to filter out, and the filter will eliminate it from your recording. Some filters even have adjustable sliders that let you customize the noise reduction for your particular setup.
5. Update Your Audio Drivers
Drivers are small pieces of software installed on your computer that allow it to communicate with your audio interface. They’re often updated to resolve issues or add new features, but many people forget to update them once in a while.
Poor sound quality and other audio interface issues are often caused by old or outdated drivers.
If you’re not sure what version of the audio drivers you’re using, you can usually find out by going to your audio interface’s manufacturer’s website. If you see an “updates” section on the website, you can simply click on it and download the latest version of the drivers for your device.
This is particularly important for people who use recording software and audio interfaces on their computers.
Last but not least, add a little EQ magic if your audio sounds really harsh or tinny. Though you can use EQ to tinker with the sound of your recordings, it’s usually best to tweak it while you’re mixing. If you want to adjust the sound of your recordings, you can use preset EQ settings on your audio interface.
If your problem persists, you may be having software problems or your buffer size may be too small. Read my guide on the causes and fixes of poor audio interface sound to learn more. Audio Interface Sounds Bad? 4 Causes and Solutions
Final Thoughts
There are several ways to make your audio interface sound better. The right interface can make a big difference in sound quality when recording vocals or instruments.
Quality also depends on your computer’s onboard sound card—these devices are not as good as standalone audio interfaces with external preamps and high-quality ADCs/DACs.
- Review of the ALABS IRON MINI-WL: A Powerhouse Wireless Microphone - October 4, 2023
- What is a Saturator in Music Production: A Brief Explanation - May 11, 2023
- What Are Rotary DJ Mixers? An Overview - May 11, 2023
SoundStudiomagic.com is a participant in the Amazon Services LLC Associates Program, an affiliate advertising program designed to provide a means for sites to earn advertising fees by advertising and linking to Amazon.com. We also participate in other affiliate programs which compensate us for referring traffic.

